
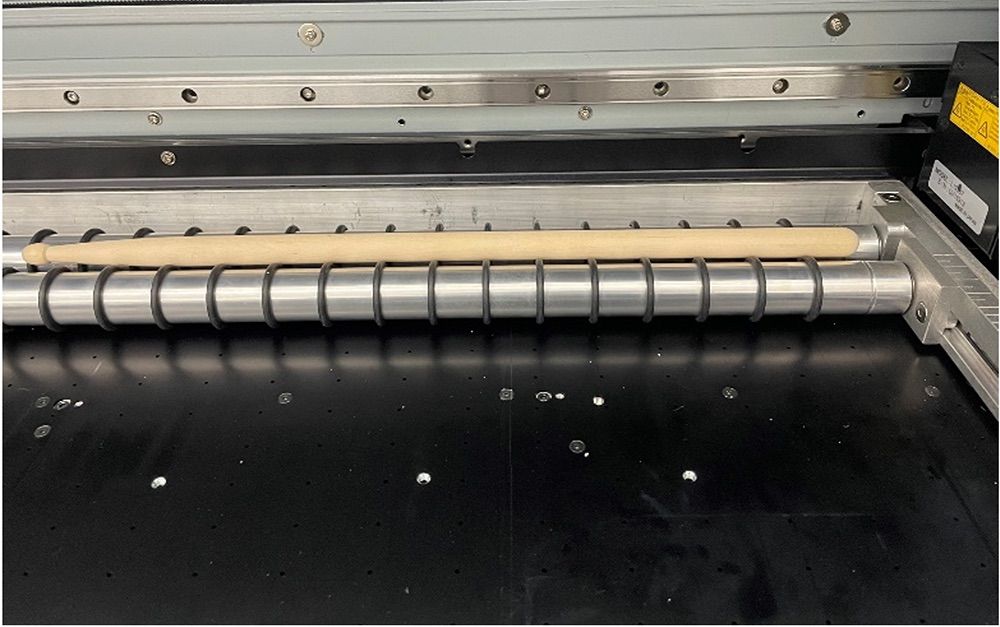
Users of Roland DG VersaUV LEF and LEF2 series UV printers have the option of adding the Rotary Rack accessory for cylindrical object printing. The Rotary Rack is ideal for customizing items ranging in size from small diameter objects like drumsticks to larger items such as water jugs with vibrant, detailed graphics. When using the Rotary Rack with an LEF or LEF2 printer, the Rotary Mode is an extremely important tool to ensure that optimal print quality is achieved. Once Rotary Mode is enabled, you have the option to control the percentage of the printhead area used, also known as “nozzle masking.”
- To utilize this setting, Rotary Mode must be enabled. If you don’t see the Menu > Sub Menu > Rotary Mode option listed, please contact your Roland Dealer for assistance on how to turn on this feature.

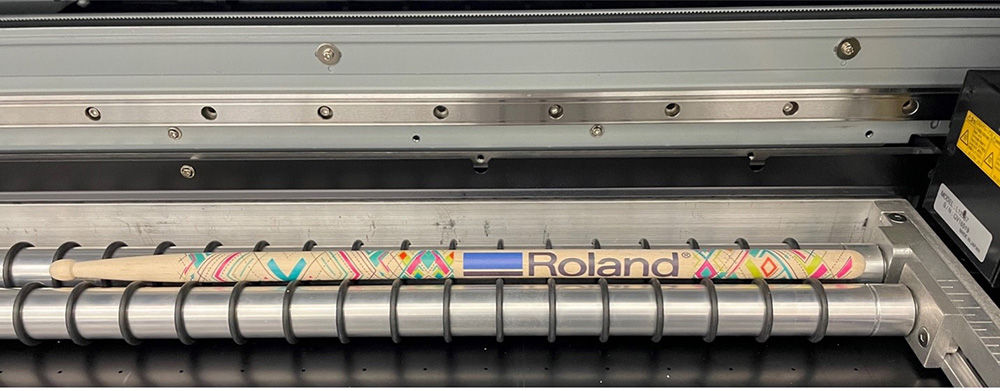
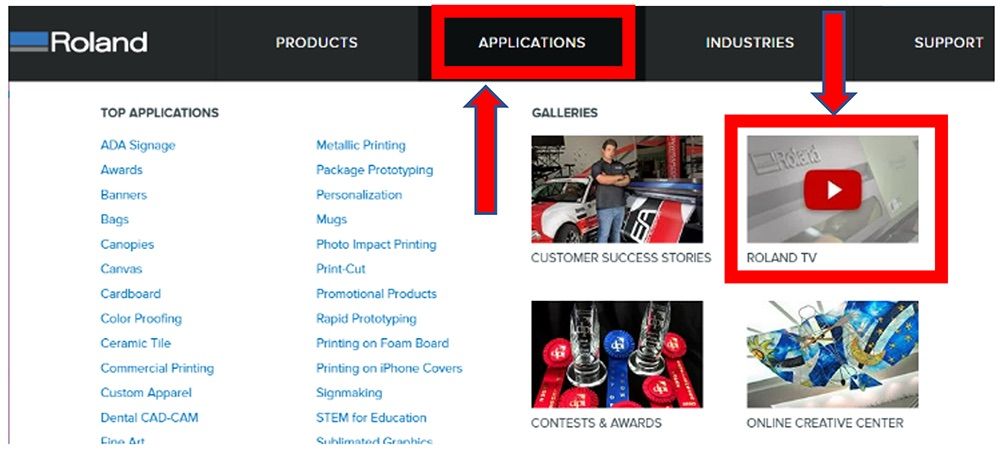
- As an example, we will demonstrate how to set up a drumstick, which has a very small printing surface. Our targeted goal is to ensure the print is falling right at the apex, or the highest point possible on this object. If you need assistance on setting up the Rotary Rack, please visit the Roland TV section of the Roland DGA website to view a series of videos pertaining to this device.
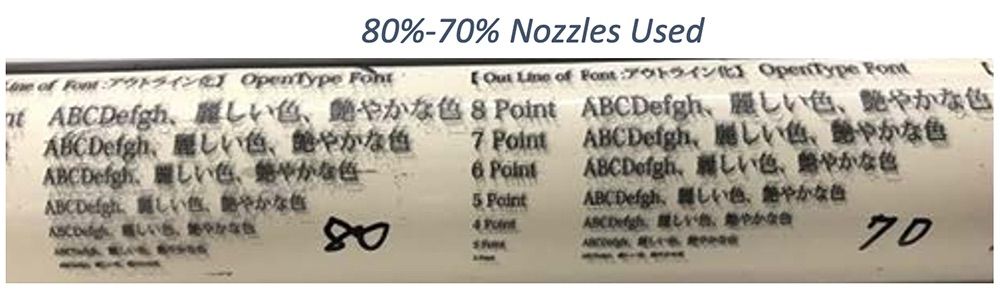
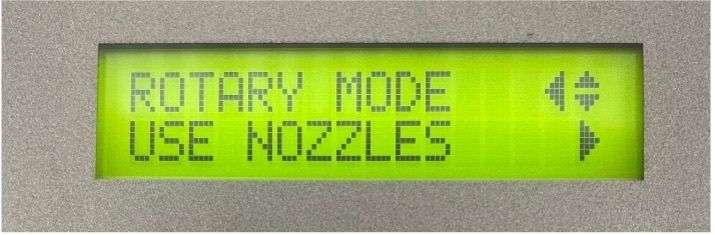
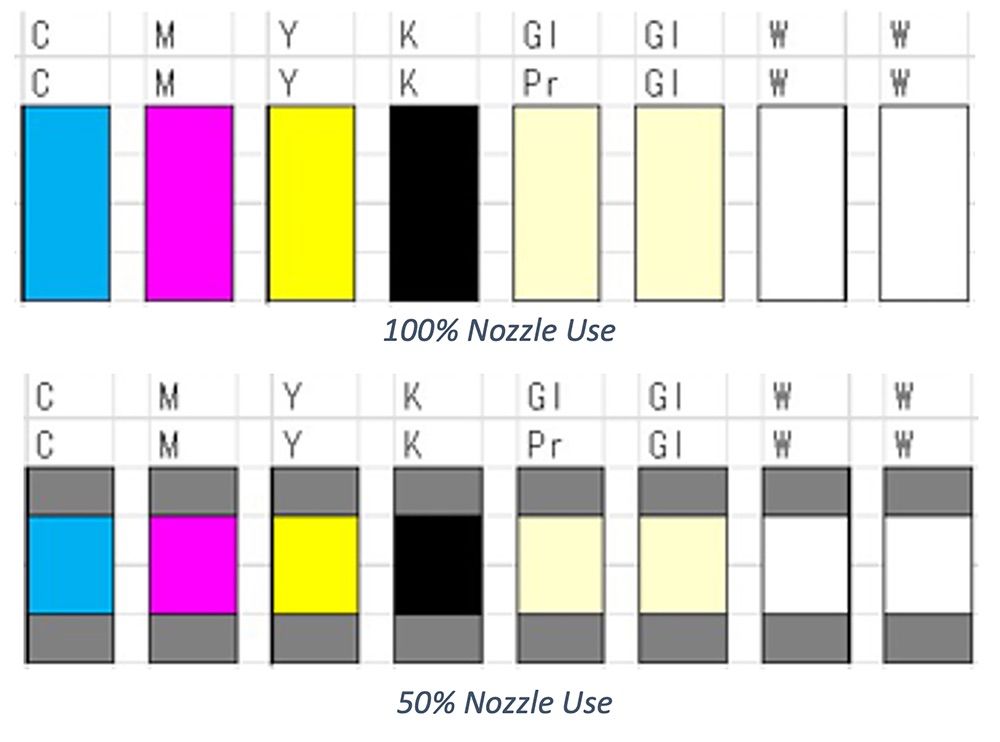
- For items that have extremely small printing surfaces, it is important to adjust the nozzle percentage used. This setting defaults to 100% of the printhead area when enabled, which would cover this whole drumstick and cause an undesired “over spray” effect on the front and back of this item. You can stop this from occurring by adjusting this setting in Rotary Mode. Pressing the down arrow key will show another option called “Use Nozzles.”
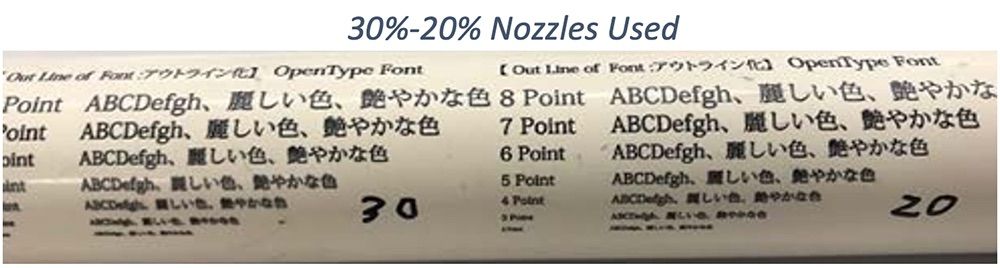
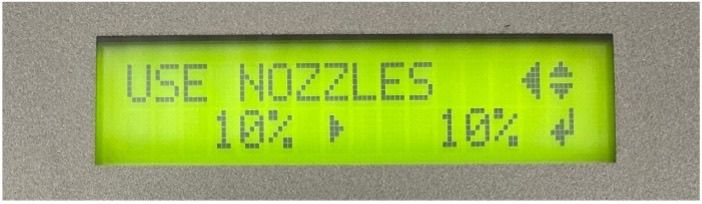
- In this case, we need to set the percentage to the smallest possible, which is 10%. This will result in a smaller printing area of the printheads, ensuring a high-quality print as the passes will lay on the apex or highest point of the object.
- Larger items can be adjusted to a higher percentage. It’s always important to test the object you want to produce. Placing tape over the object and/or wrapping the object with a clear, removable media (such as a transparency sheet) are good testing recommendations.
- Making the necessary adjustments using this feature will enable you to consistently achieve higher-quality, customer-pleasing prints.