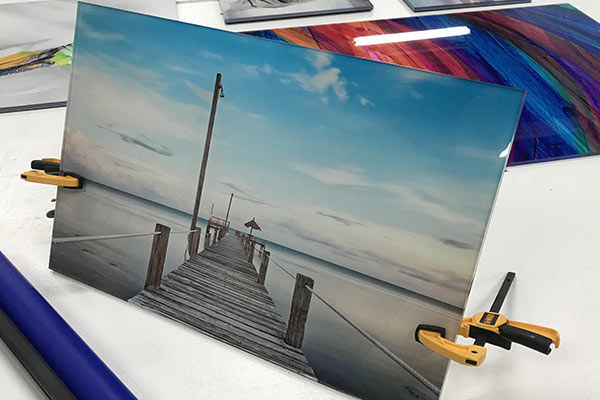
Fine Art Photography Mounting to Acrylic
Presented by industry expert David Goetter. Sponsored by Drytac.
|
Fecha & Tiempo
|
Precio
|
|
|---|
Registration deadline - October 1, 2019. Hurry! Limited seats available
David Goetter is a 30-year veteran of the sign industry, a well-known author, tradeshow speaker, and a regular contributor to many of the industries major trade publications.
Workshop Testimonial
"I am extremely happy about attending this class. David covered everything from start to finish and helped us understand every aspect of the process. He is truly a master of his class. Even aside from the course outline, I learned new tips and tricks relevant to other processes in sign making and large format. I am looking forward to attending more classes from David in the future."
NATHAN ERICKSON
Foreman, Senior Print Production
Technical Communications
MIT Lincoln Laboratory