

In the decorated products industry, two techniques are rapidly gaining popularity: UV DTF (UV Direct-to-Film) transfers for hard surfaces, and UV HTV (UV Heat Transfer Vinyl) for apparel. Together, they're giving decorators a UV-curable transfer workflow that stretches across an unprecedented range of substrates, from drinkware and phone cases to baseball caps and performance wear.
Why use UV transfers?
The substrate reach of these technologies is a large part of their appeal. UV DTF transfers adhere directly to glass, metal, acrylic, ceramic, wood, and plastic surfaces that traditional heat-transfer methods don’t work for. With primers and appropriate surface prep, UV DTF can decorate items such as tumblers, phone cases, and wooden signs — products that are difficult or impossible to decorate with screen printing. UV HTV, meanwhile, brings the durability and vibrancy of UV-curable inks to fabric decoration, adding premium textures and gloss that increase the products’ appeal.
Here we’ll walk through the full process for both applications, covering artwork preparation, materials selection, application technique, and finishing steps that determine how well your decoration holds up over time.
UV DTF Production
UV DTF production offers decorators a simple workflow and versatile applications. Unlike traditional DTF production, no powder or heat press are needed. The workflow allows for faster production rates than traditional DTF, and provides adhesion to a wider variety of materials, including curved or glass surfaces. Using ink layers, UV DTF can also create raised textures, simulated embossing, and various other premium finishes like gloss or matte coatings, along with vibrant colors and precise detail.
Materials Needed
To produce UV DTF graphics, you’ll need design software, RIP software, a UV printer, a laminator, DTF media (A) and transfer film (B).
Step by Step
Let’s walk through a UV DTF application for a hard surface.
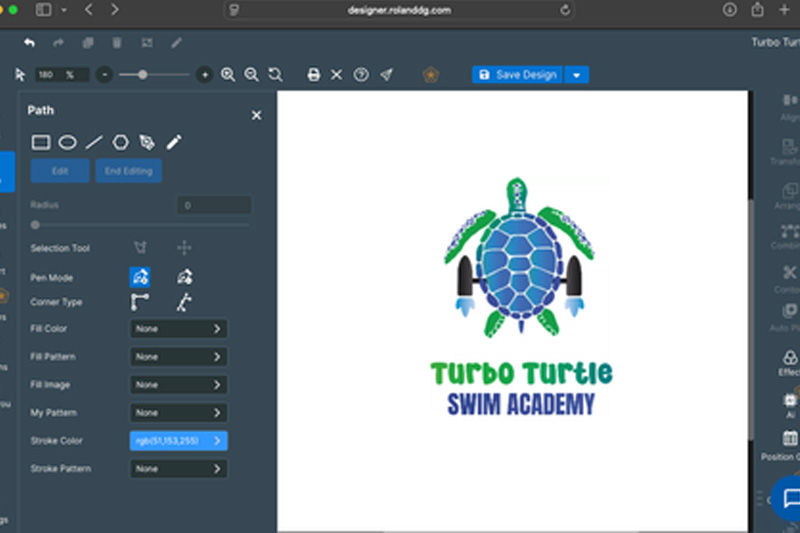
Step 1: Design your artwork with your favorite design program, such as Roland DG Connect Designer, which recently won a 2026 Pinnacle Award. Use DG Connect Designer’s Auto Plate tool to help create White and Gloss layers for your UV DTF design. Save your file when finished, then upload your design into your RIP software and set it up for printing.
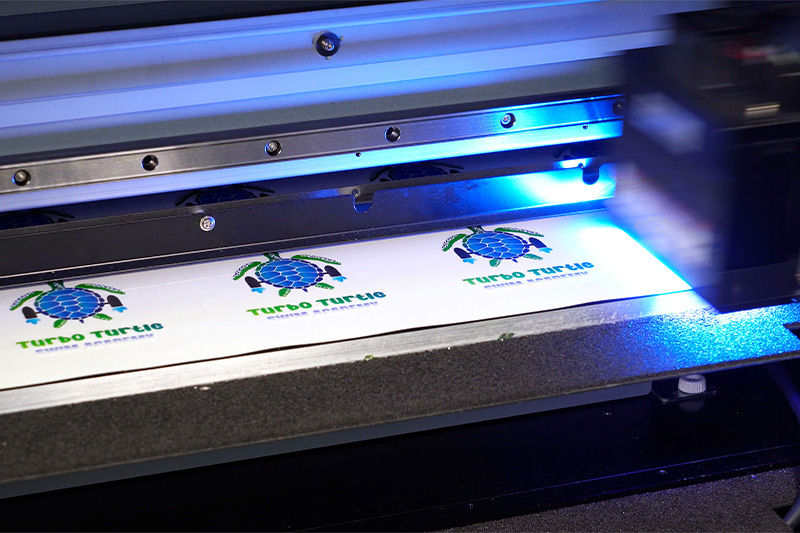
Step 2: Set up your UV printer for printing, removing the clear cover sheet from your DTF-A media before printing. Hit print and print your transfers. When printing is completed, carefully remove from the printer, being mindful of the exposed adhesive.
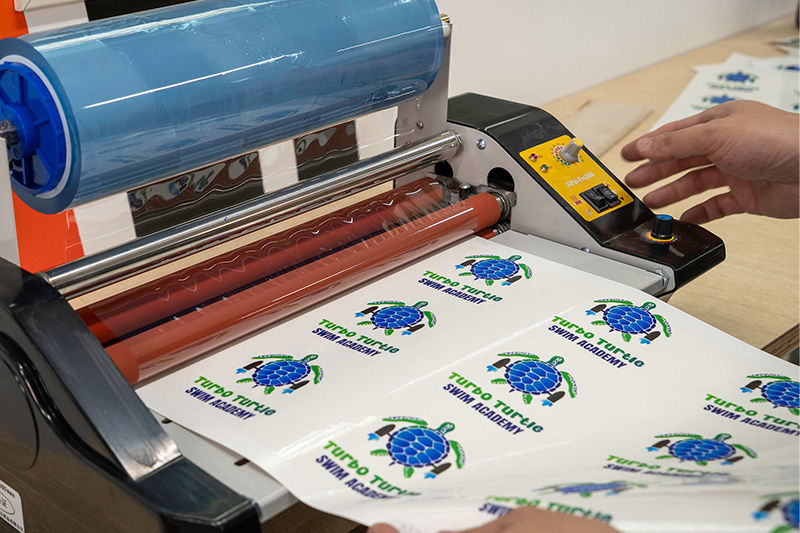
Step 3: Apply the UV DTF-B transfer film using a heat-assisted laminator or use a heat press for 10 seconds at 225°F. Remove any additional material and trim out your completed UV DTF transfers. Your transfers are now ready for application or shipping.
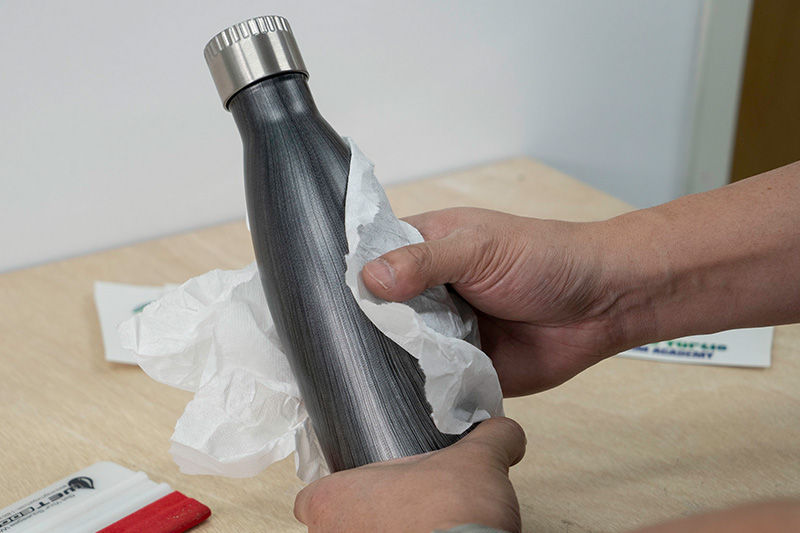
Step 4: If applying to an item, be sure your item is clean and free of dust or debris — note that even fingerprints can affect adhesion.
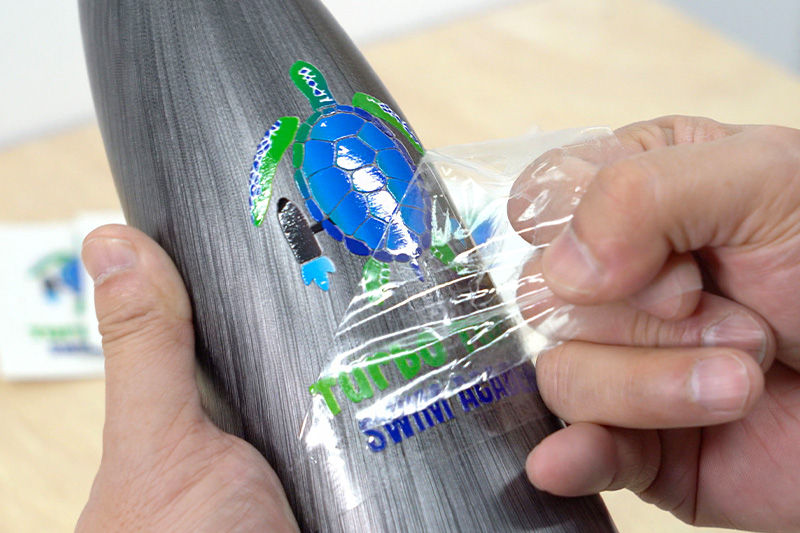
Step 5: Apply your transfers by first turning it over and carefully removing the paper backing material. Then place the transfer on your item and use a squeegee to remove any air bubbles. For some transfers, you may need to apply heat with a hair dryer and squeegee again. Then carefully remove the transfer film.
UV HTV Production
A big advantage of UV HTV printing over traditional print-and-cut workflows is that you can build up ink layers to create texture that simulates engraving, embossing or debossing the design. Designs with texture are often compared to embroidery in terms of the premium look they provide. UV HTV offers the 3D effects of embroidery, often at a lower cost and with quicker production time.
Popular applications for UV HTV include simulated patches on hats or shirts and left-chest prints for shirts or uniform numbers — all of which can be created with or without texture. UV HTV transfers are rapidly gaining in popularity, both the flat or “2D” type and the textured or “3D” type, as they provide decorators with an accessible option for creating a premium, finished look.
How does the UV HTV process differ from UV DTF?
The workflow for these two techniques will be very similar except that with UV DTF you need a white under base. With HTV, since most of the substrates are white, you can just print CMYK and then add gloss if desired.
Materials Needed
To produce UV HTV transfers, you’ll need: Design software, RIP software, a UV flatbed or UV roll-to-roll printer, printable HTV material, a vinyl cutter or laser cutter, and a heat press.
Step by Step
Let’s walk through the steps for UV HTV production and application.
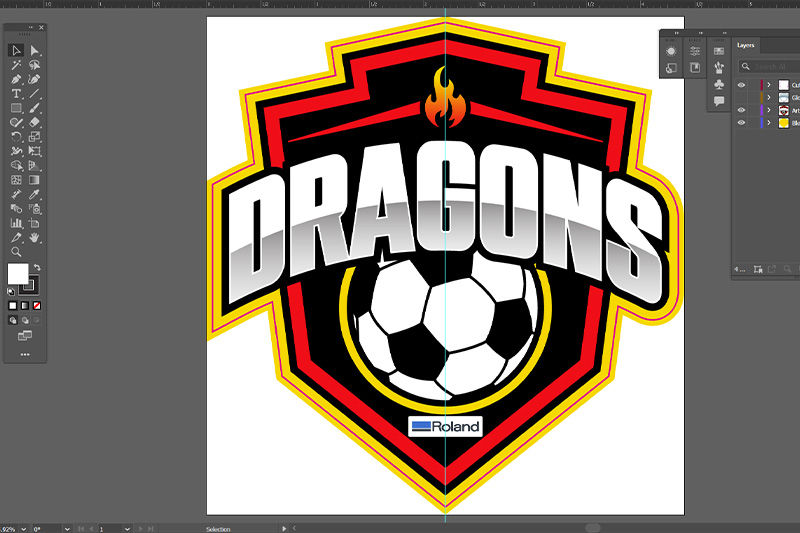
Step 1: Design your artwork using your favorite design program. Work in layers to add dimensionality if desired.
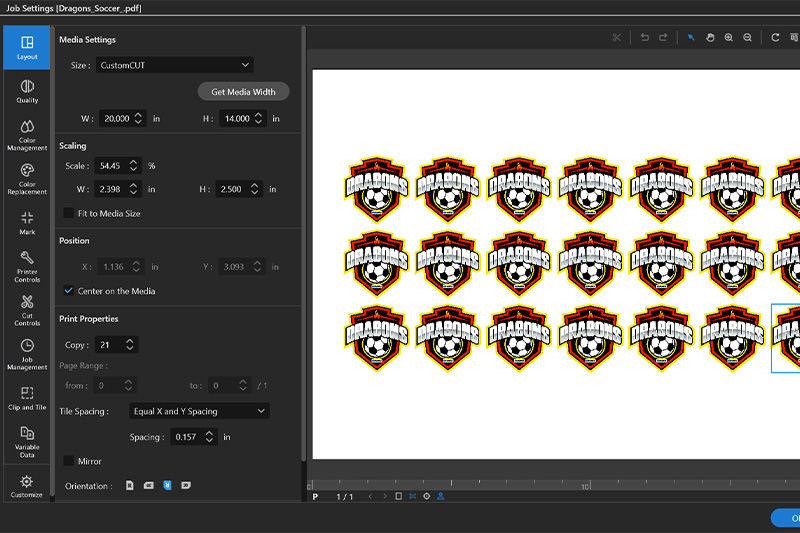
Step 2: Upload your design into your RIP software and set it up for printing.
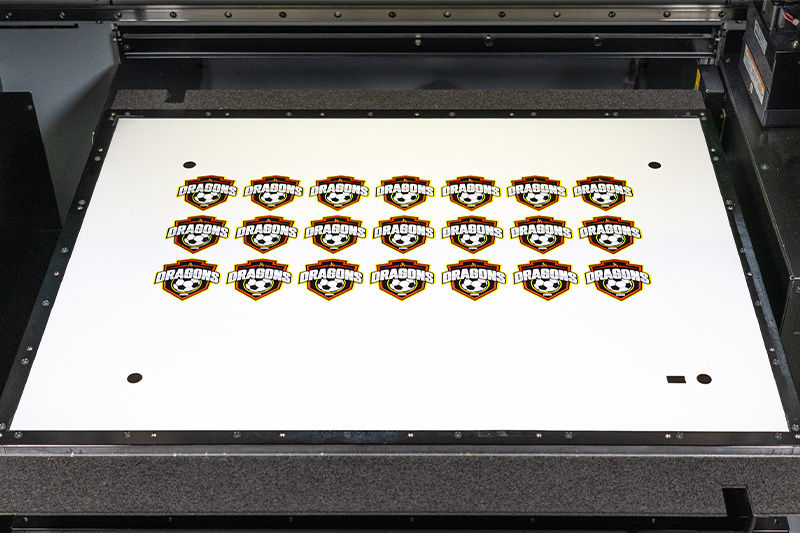
Step 3: Print your file with crop/registration marks. These marks can be read by a vinyl cutter after printing.
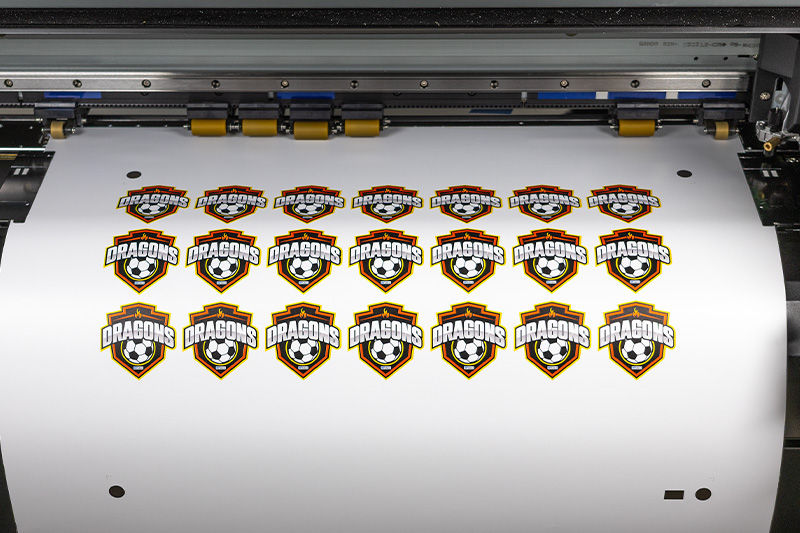
Step 4: Load the printed sheet with crop marks on a vinyl cutter. Note that the marks used must be compatible with your cutting device.
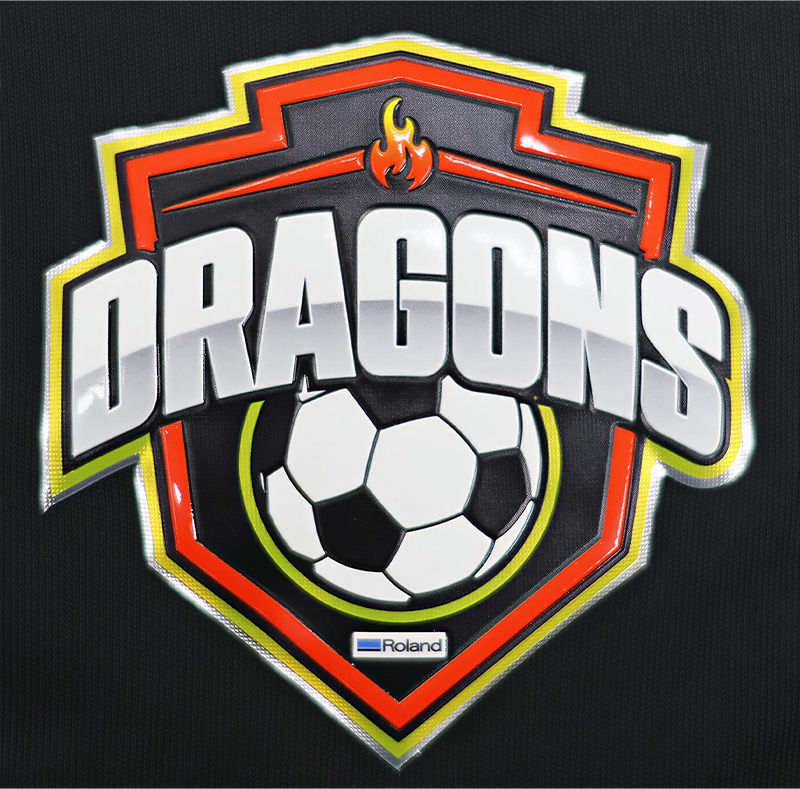
Step 5: Apply the UV HTV transfer to your apparel item and use a heat press to adhere the transfer.
Conclusion
Adding UV DTF and UV HTV workflows allows you to differentiate your offering with new product categories without the capital investment of an entirely new printing platform, all while tapping into a growing market for personalized, durable products.
UV DTF and UV HTV designs can be produced quickly and with minimal cleanup, making the workflow approachable for shops already familiar with film-based transfers. These technologies also support premium positioning through raised textures, simulated embossing, and various finishes like gloss or matte coatings, giving shops a way to bid on higher-margin products and improve profitability.
Have questions? A Roland DG expert would be happy to help.
Talk to an Expert