
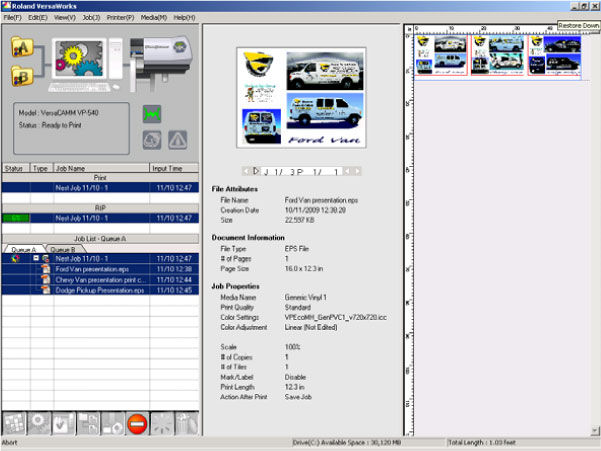
Most sales are not too difficult to close; however, at times we must resort to some “extra yard” presentation techniques to close our multi-unit printing opportunities. This week I am proposing a digital printing and cut-vinyl vehicle graphics package for three distinctly different trucks. All the messages are the same; however, there are layout issues that differ from truck, to van, to van. To dramatically increase the chances of our getting this nice graphics package order, we simply resorted to our Roland DG VP-540 to help us create some “sample boards” to show the client what we could offer to increase his business right away.
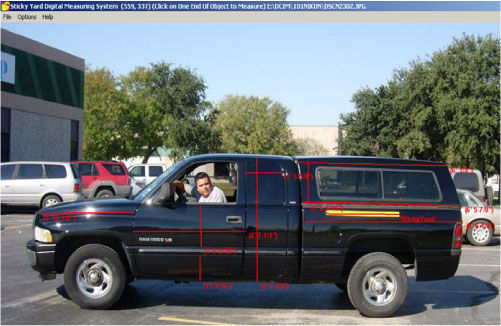
Step one was the taking of several digital photos of the two vans and the covered bed pick-up truck. Before taking any photos, I attached my magnetic “stickyyard” measuring device to the trucks, so I could accurately determine all the measurements from the photos. My sticky-yard software allows me to obtain accurate measurements from any truck, or whatever I want to “size up” for graphics applications.
This project features limited digital printing, with most of the lettering being cut vinyl graphics. The company logo was printed on the VP-540 on air-release vinyl and laminated. There were a total of nine logos printed and laminated. Since the trucks were all white and all black, the digital prints and the high performance cut vinyl graphics worked very well together.
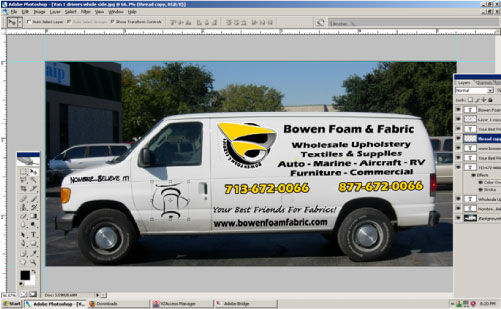
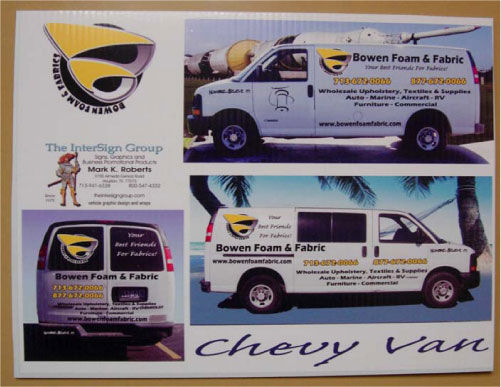
Step one in creating an effective sales presentation is to capture a nice photo, and then remove all the clutter that will compete with your design. In this photo of one of the vans, you will see what the van will look like when all the graphics are applied; however, you will also see a lot of clutter in the photo which competes with your graphics design. Items like trees, buildings, and other distractions can be easily removed in Adobe Photoshop with a neat tool called “quick mask”.
Quick mask is activated by pressing the “ctrl” key and the “Q” key on the keyboard. From there , select any brush tool and begin “painting” the background away. As you paint, you will see a transparent pink color coming off your brush. Keep painting until all the areas you want to remove are completely covered in pink. Next, hit the “ctrl” key and the “q” key once again to create a selection. Before you hit the delete key, be sure to invert your selection, and then hit the delete key.
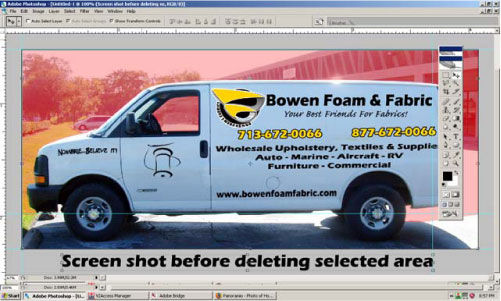
Now for the cool part. Once you have your isolated object with a clear background, you may now import any photo into the background. This can be a nice fade, which is always a great idea when creating proposals to be used in sales meetings. For other occasions, you can get creative and insert photos of other places and objects, resulting in your van being parked anywhere your imagination will take you. The photo on page four shows the van parked in front of a Saturn V rocket, located in Houston at the Johnson Space Center, which was carefully placed in the background behind the van.
For presentations which may require a more professional look, color fades work very well behind your graphics presentation. Again, carefully paint away the background in “Quick Mask” mode, delete the background and fill with a nice color gradient. Practice and play with your options so your end result will result in a sale for a graphics package application for your sign company.
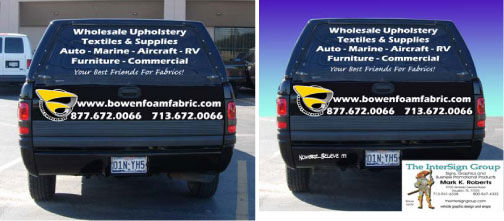
These two photos show the difference between a presentation design using a truck that was photographed in a parking lot, with a lot of clutter in the photo. The nice gradient fade in the right hand photo took all of two minutes to mask and create a nice fade, which will not compete with your design presentation.
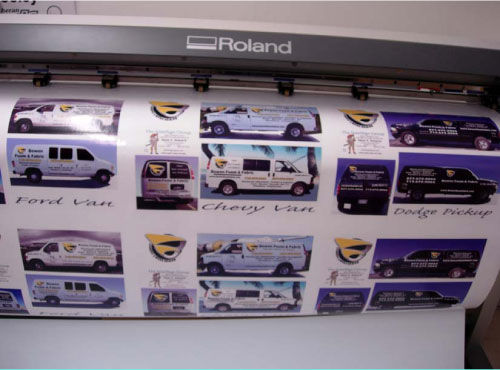
A presentation plate was created for all three trucks—one set for the client and one set for me. These prints were adhered to plain white coroplast, cut to size. In addition to all three views of the trucks, the sample plates also include the client’s logo, as well as my business card print. Both of these items are mandatory on ever presentation. The client’s logo—so they will feel ownership, and my business card print—so it will be difficult for the client to “shop” this particular design around to other sign sources.
I always create presentation plates for all projects that exceed $1,000 in price. For starters, creating such marketing tools further reinforces our professionalism in the eyes of the client. Perhaps his other two quotations were merely word processing documents, without any visual reinforcement of the quality of the proposed project. Nice projects deserve a few extra minutes of our time, and even a few extra dollars from our wallets. Why not? Isn’t our professionalism worth it?
Right now I am writing about these valuable advertising tools on the same day I delivered them to my happy client. The look on his face was very encouraging. He immediately took possession of the completed project before actually placing his order. I could see it in his eyes, and he told me that the first truck could be picked up next week.
Will he purchase all three? Of course he will. All it takes is one completed truck in his parking lot, and the other two will be completed within a week or two. The keys to keeping our “Roland DG’s” running day in and day out is our ability to create enticing sales tools to make the sale, and then …delivering our excellent printed products to create the desire in our clients’ minds for more and more advertising tools for their business success. Isn’t this a fun way to make a living?
You bet it is!
