
It has often been said that Roland DG printers are like people. And just like people they’re longing to work and to be productive. Roland DG machines are designed to handle as much production work as you can throw at them, making them the preferred technology of sign and graphics professionals the world over.
As you start printing or start your plans to print again, there are some important steps you need to take in order to get your TrueVIS VG2 printer/cutter in optimal working condition. To help you complete these tasks correctly, I’d like to share a step-by-step maintenance walkthrough I performed on our TrueVIS VG2 and other large format inkjet devices.
IMPORTANT NOTE FROM BRYAN
Why MANUAL cleaning is so essential for non-active machines PRIOR to any regular cleaning or operation.
Before you start the manual cleaning process, I think it’s important to understand the consequences of not manually cleaning your machines that have been idle for a period. Failure to manually clean your large format Roland DG printers can cause accumulated ink to “gum up” on many parts including the printheads, wiper, and cap tops. This naturally occurs, even during the automated sleep mode cleanings, and cannot be corrected without MANUALLY cleaning these deposits off the parts by hand. If you skip this important manual cleaning prior to resuming normal printing operation, it’s possible for dried ink to get pushed onto the print heads causing potential damage and part failure.
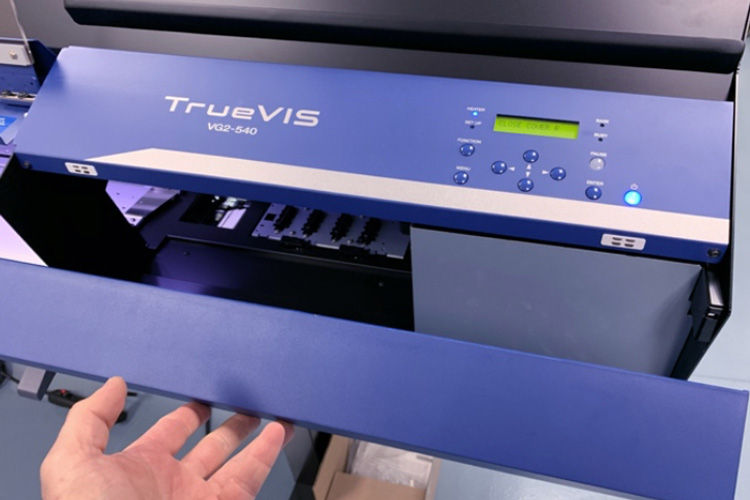
TrueVIS VG2 Printer/Cutter Cleaning Maintenance
Our office VG2 had been left powered-on so that it could perform its built-in automated periodic cleaning cycles. Upon returning to work, we performed the following maintenance procedures to ensure proper operation when we’re ready to return to work.
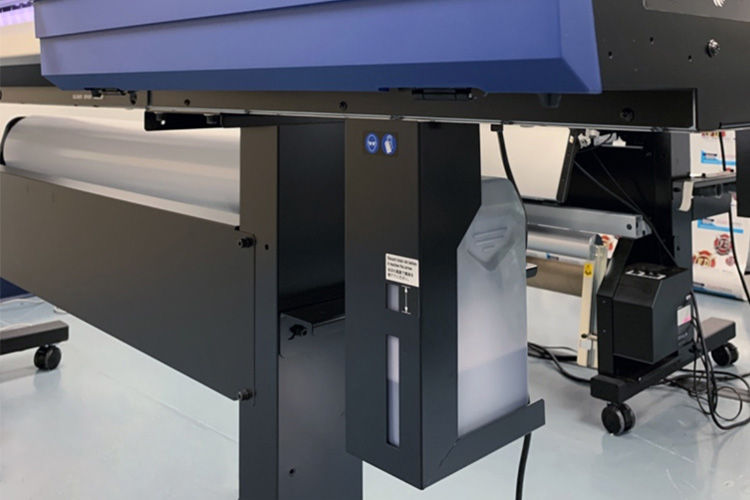
- Check the level of the waste tank on the lower right of the VG2. During long periods of non-use, the machine will still continue to drain its waste ink during the automated cleaning cycles. Empty the waste tank before starting to print, and definitely before you plan to leave the VG2 unattended for any length of time.
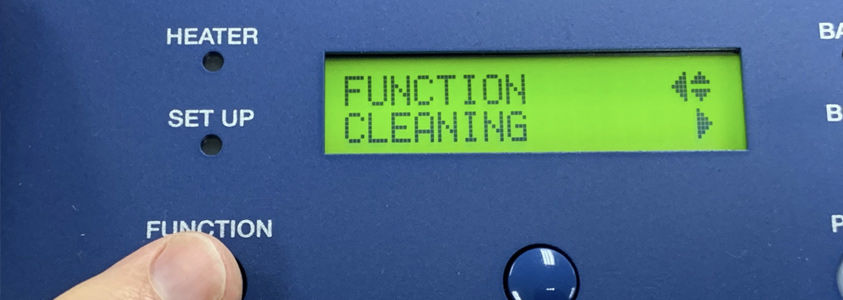
- Start a manual cleaning by navigating to the VG2 menu system and activating the manual cleaning command.
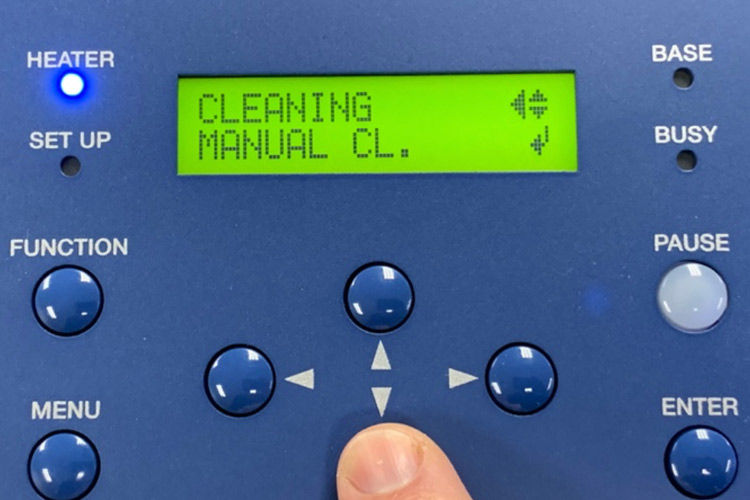
Upon activation, the cleaning process will automatically display instructions on its front panel screen for the following cleaning process steps:
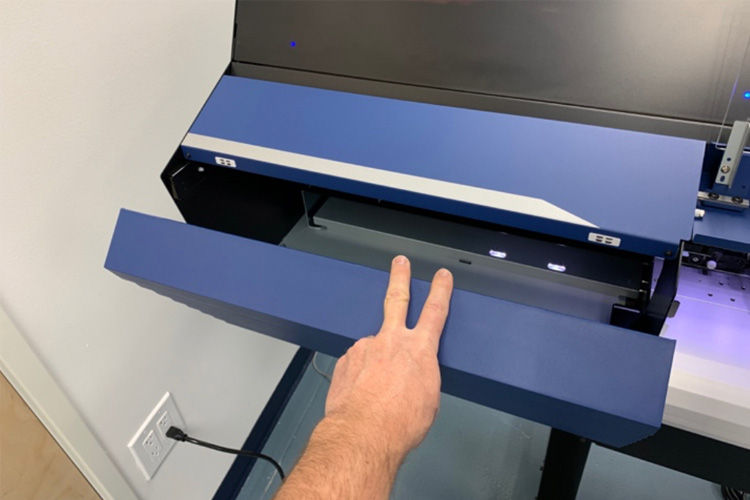
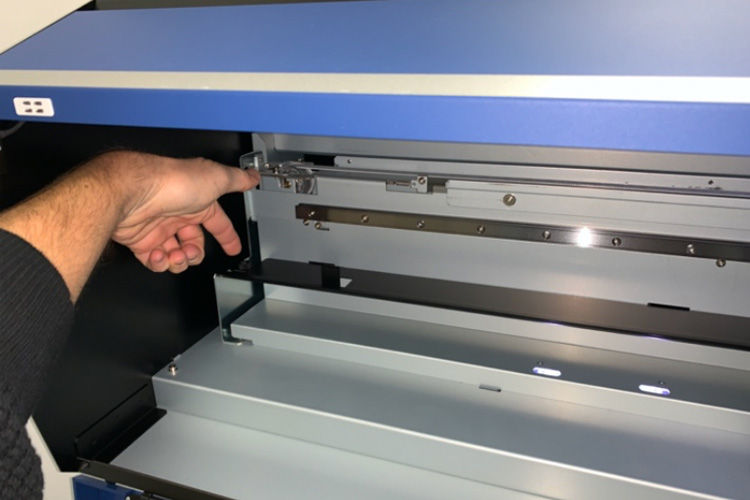
a. When prompted, open the left service door by pulling downward.
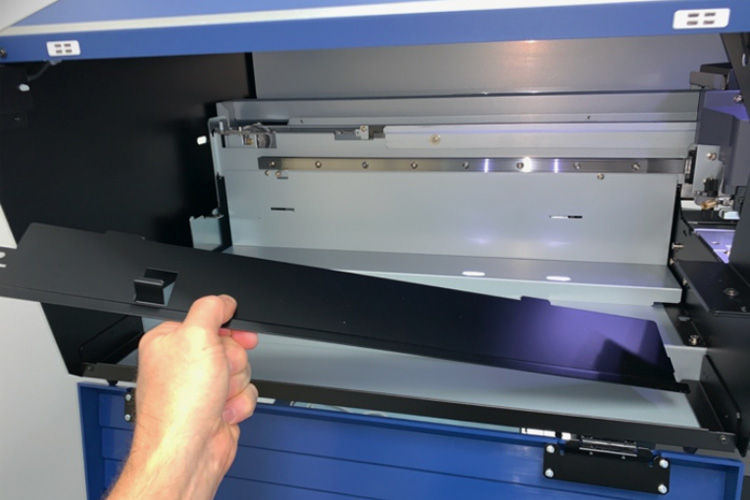
b. Remove the metal flange in the service bay by taking out the single thumb screw at the far-left top edge, pulling the flange towards the front of the VG2.
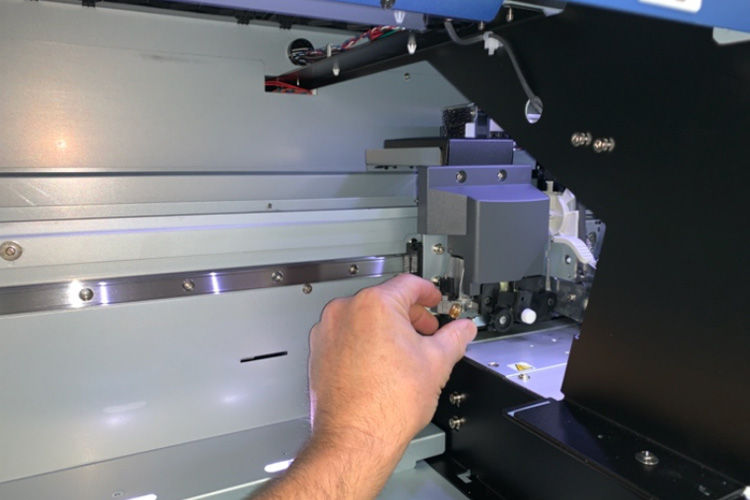
c. Gently pull the printer head from the right side of the bay into the service area by dragging it to the left until the lower LED lights are shining up at all the print heads.
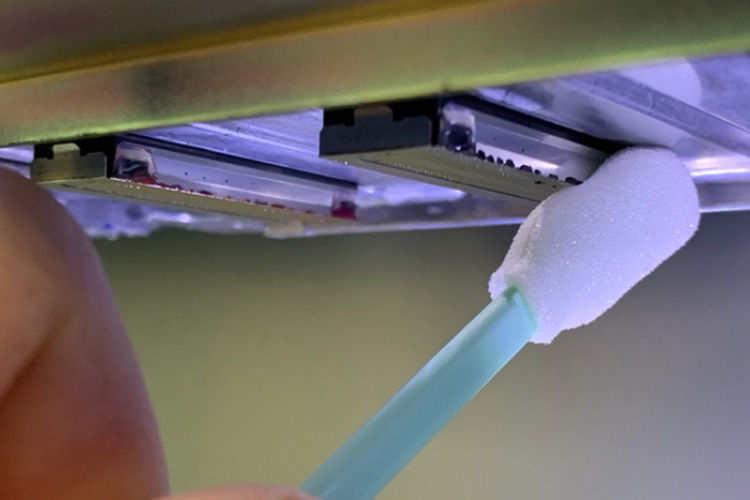
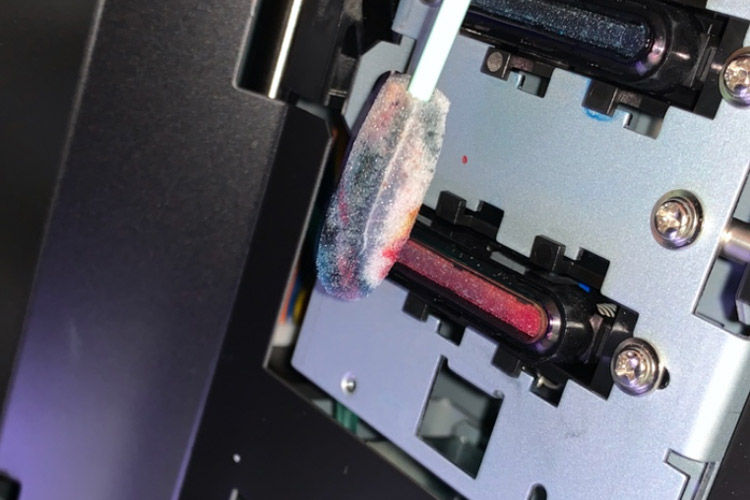
d. With a foam-tipped cleaning swab, dip it into the VG2 cleaning solution that came with the VG2.
e. Slowly and very gently wipe the swab around each of the print heads until you see all deposits of ink and debris disappear leaving a shiny metal surface (notice in this photo the substantial dried ink that had collected around each of the print heads. This ink will prevent proper capping of the print heads)
f. If any other dust or contaminants are visible on any part of the print head gently wipe these away with a clean dry foam-tipped swab.
-
Gently push the print head back out of the service bay to the right.Then replace the metal flange by aligning all three metal tabs into their respective slots, followed by a gentle push to the right-hand side of the VG2.Once the flange settles into its proper position, the thumb screw will align and you can replace the screw.Then simply close the left service door upward until the magnet holds it closed.
-
The automated cleaning routine will then display a message to open the right-side service door. Pull the door down just like the left door until open and proceed with the following steps:
a. Dip another foam tipped swab in the VG2 cleaning solution and very gently wipe each of the black rubber O-rings that cap each print head.
b. Check the wiper for any residue and gently wipe it with the foam tipped swab.
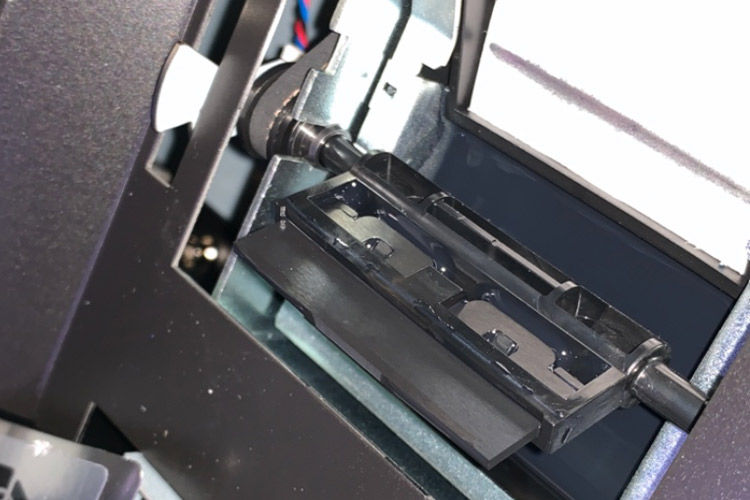
c. Inspect the service bay and remove any other debris with clean cloth or another dry foam tipped swab.
d. Close the right-side service door by pulling upward until it reaches its magnetic closure.
-
The automated cleaning will now perform a regular cleaning and at this point you can load media for a cleaning test print. Should the cleaning test show anymissing or deflecting nozzles, perform a normal cleaning* and print another test.
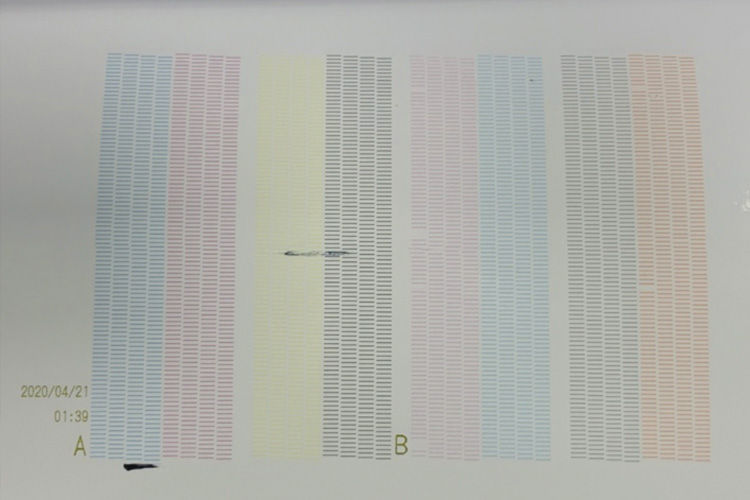
Notice in this photo there is a black streak indicating there is dust somewhere on the bottom of the print head that needs to be carefully removed with a foam tipped swab. Also, there is a missing orange nozzle so another normal cleaning would be suggested.
IMPORTANT NOTE FROM BRYAN
Occasionally, if the VG2 has been sitting idle for a longer period of time, you may need to perform the medium or powerful cleaning to get all nozzles firing correctly.
*If you are unsure of what a “normal cleaning” is, please see your Roland DG manual for this basic machine info.
- We hope these tips help. If you are experiencing difficulties with your machine, Roland DG Service and Support is available at this time to help Roland DG owners troubleshoot their machines. You can also get other important Roland DG support information by visiting our special “We Are Here” page for a library of COVID-19 related videos, content, and company updates.